
What a moisture meter measures, and what it does not
Moisture meter readings tell you how one spot compares with another, not how much water a wall holds. A higher number means that spot reacts more strongly to the meter's small electrical signal, and water is the usual reason. So a number only means something next to a reading from a dry part of the same material, taken with the same meter.
A pin meter checks how easily a tiny current passes between two pins pushed into the surface. A pinless meter senses the material under a flat pad pressed against it. Many show a moisture content figure designed for wood. On plaster, brick, concrete or screed, that figure is only higher or lower than nearby. Some meters add a scale for masonry, and that is still only a comparison. So two meters can show quite different numbers on the same wall and both be working properly.
Why one number means little on its own
A single reading has nothing to measure itself against. A figure that looks worrying on one meter is ordinary on another, and the same meter gives very different numbers on dry plaster and dry timber. You will find a moisture meter readings chart online with green, amber and red bands. Each chart only holds for the meter, setting and material it was made for, so laying one over your wall can make dry plaster look soaked, or hide a real problem.
Salts are a common trap in older houses, such as the solid-walled cottages and Victorian terraces found across East Anglia. When a wall has been damp at some point, the water leaves salts behind as it dries out. Those salts pull moisture from the air and carry a current well, so a pin meter can read high on plaster that feels dry and has had no leak for a long time. Salts are not the only false alarm, and none of the things below means a pipe is leaking.
Soot and salts in an old chimney breast
Foil-backed plasterboard, metal corner beads or mesh close to the surface
A pipe or cable just behind the surface, with a pinless meter
Condensation sitting on a cold wall or a window reveal
New plaster, screed or paint that has not finished drying
Reading the pattern across a wall or floor
Use the meter in a line or a grid, never as a single stab. Start on a patch of the same material that you know is dry and treat that number as your baseline. Then work towards the stain a hand's width at a time, marking each reading lightly in pencil or writing it on a sketch. You are looking for two things: how the numbers change from point to point, and where they peak.
Moisture meter readings for walls tend to fall into a few shapes. Numbers rising steadily towards one spot, like rings around a target, usually mean a pipe joint, a waste or a fitting is feeding it. Readings highest at floor level that fade at an even height suggest damp from the ground or outside, a job for a builder or damp surveyor. A heating pipe in a solid floor can look much the same. Damp in cold corners and window reveals, often with black spots, points to condensation.
Time is the other half of the picture. Take the same readings the next day, and again after the bathroom above has been used. A patch that only gets wetter after a shower points to the shower. One that keeps spreading whatever you do suggests a pipe under pressure. One that gets worse after rain and dries in a settled spell is letting water in from outside.
Plaster, timber and screed
Gypsum plaster and plasterboard react quickly. They read high soon after water reaches them and dry out over days or weeks once it stops, so a falling number after a repair is a good sign. Lime plaster, common in older cottages across Suffolk and Essex, lets moisture pass through more freely than modern plaster, and old walls are more likely to hold salts, so read it with extra care. Tiles are hard to read through, and the grout lines or the wall beside the tiling usually tell you more.
Timber is where a meter is most at home, because most are set up for wood. Readings on floorboards, skirting and joists compare fairly well with each other. Wood that stays wet can start to rot, so a high reading on floorboards or a joist under a bathroom is worth acting on sooner than a damp patch on plaster.
Screed is the sand and cement layer laid over a concrete floor, and heating pipes often run inside it. A meter only reads near the surface, so a leak deep in a screed may first show as damp along a skirting board or under a hall carpet, some way from the pipe. Surface readings narrow down the area; finding the point needs a test on the pipe itself.
How we use moisture meter readings on a visit
Our engineer Charlie begins with a moisture meter, plotting the edge of the wet area and its highest readings, so we can see how far the water has travelled and which way it came. That map decides what gets tested next: a shower, a radiator pipe, the supply pipe or a waste. It also helps avoid opening a wall in the wrong place. The price is fixed in advance and pays for either a half or a whole day of testing.
Readings never decide the answer on their own. The damp map tells us where to look; thermal imaging, a pressure test or tracer gas (a hydrogen and nitrogen mix) shows what is leaking. A spot gets marked and photographed only after a second test lands on the same place as the first. The written report includes the location, methods, readings and photographs. When our bill for the visit is settled, it is yours to pass on with a trace and access claim.
When readings point to a pipe
Readings point to a leaking pipe when the damp has a clear centre, keeps spreading and ignores the weather, and sits on or near a pipe route: under a bathroom, beside a radiator, along a kitchen wall, or across a ground floor with heating in the screed. Two quick checks back this up. On a sealed heating system, a boiler gauge that keeps falling means the heating is losing water. If the water meter still moves while nothing in the house uses water, the supply is leaking.
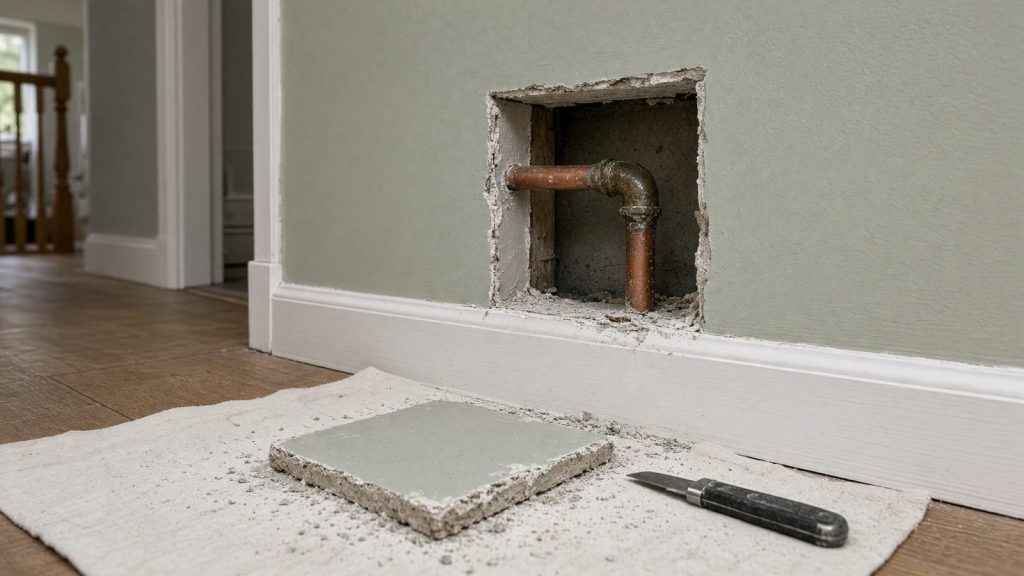
At that point, stop opening things up on the strength of a number. Keep your readings with a note of where each was taken, photograph the stain with a tape measure in shot, and tell your insurer if you plan to claim. Then give us a ring. Those notes help us plan the visit, decide which test comes first and show the insurer how the damp changed before anyone arrived.