
Which UK homes still have lead water pipes
Lead water pipes in the UK are mostly found in homes built before the 1970s. After that, new supply pipes were laid in copper or plastic. Where lead survives, it is usually the supply pipe: the buried pipe that runs from your boundary, under the front garden or path, and comes up indoors at the stop tap. Many were replaced long ago, but many were left in the ground because they still worked.
Across East Anglia, that takes in Victorian and Edwardian terraces in the older streets of Norwich, Ipswich and Colchester, interwar semis on the edge of most towns, and farm cottages whose pipe went in generations ago. Old lead water pipes can also hide behind newer work. A house replumbed indoors with copper may still be fed by lead under the garden, and the water company's short pipe at the boundary may be lead as well.
How to tell if your supply pipe is lead
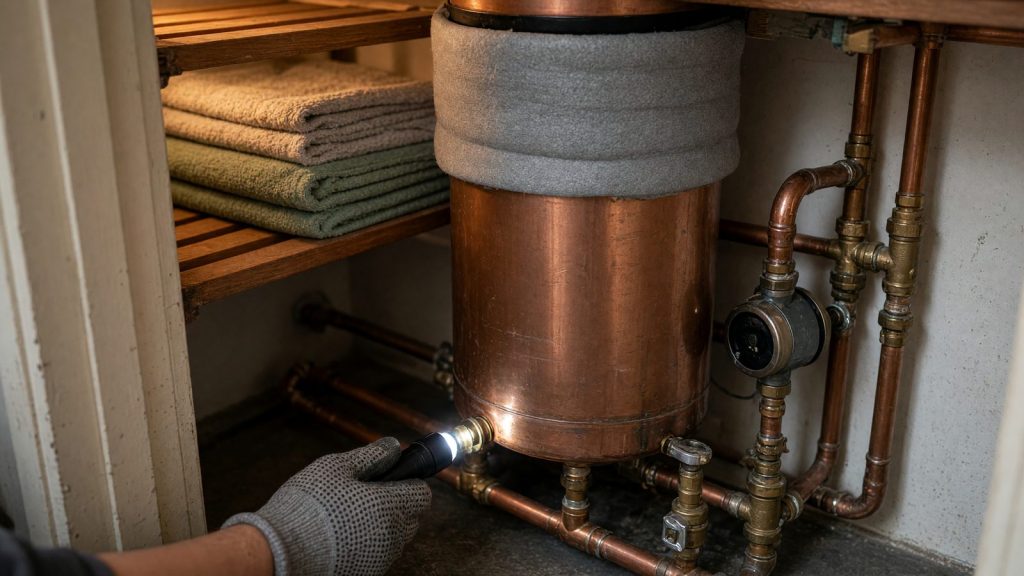
Go to your internal stop tap. It is usually under the kitchen sink, though some are by the front door, under the stairs or in a downstairs cloakroom. Look at the pipe just below the tap, where it rises through the floor. That short visible length is the end of your supply pipe, and it is your main clue to what runs underground.
If you test it, scratch lightly with a coin, and never cut, file or bend the pipe. The visible part only tells you about the last metre or so. Some homes had a short new length fitted where the pipe comes indoors, with the old lead left outside. If you are unsure, ask a plumber to look, or ask your water company whether lead is common in your street. Compare what you see with this list:
Lead: dull grey and soft, and a light scratch with a coin shows shiny silver
Lead: a magnet will not stick, and tapping it gives a dull thud
Lead joints: smooth, swollen lumps where two lengths were joined
Copper: orange or brown, sometimes green where it has been damp
Iron or steel: a magnet sticks, often rusty, with threaded fittings
Plastic: usually blue, sometimes black on older runs
Why old supply pipes leak
Lead is a soft metal. Over the years, frost, ground movement and the weight of cars on a drive can stretch it, kink it or split it. Clay soil, common in many parts of the region, shrinks in dry spells and swells again when wet, and that slow movement works on any old pipe. Tree and hedge roots can also press on a pipe or push into a weak joint.
Joints are often where the trouble starts. Where lead meets a newer copper or plastic pipe, the fitting has to grip soft, uneven metal, and over time it can work loose and weep. Iron and galvanised steel pipes rust from inside and out until the wall of the pipe is thin enough to give way, often in more than one place.
A leak on a buried pipe does not always show on the surface. Where the soil is light and lets water through easily, the escaping water can sink straight down and leave the grass looking normal. That is why many people only find out from a water meter reading, or from a letter saying their water company's readings show water passing all the time.
Finding a leak on a lead or iron pipe
Start with the water meter. Make sure nothing in the house is drawing water: taps shut, washing machine and dishwasher idle, nobody in the shower. If the dials still creep round, water is escaping somewhere. Close the stop tap indoors and look again. If the meter is outside and still moving, the loss is on the buried pipe. A meter fitted indoors cannot show a leak under the garden, so tell us where yours is when you ring.
On the buried pipe, we listen first. Water squeezing through a crack or a slack joint makes a steady hiss, and a ground microphone on the surface hears it through soil and paving. Metal pipe usually carries that sound further than plastic does, which helps on lead and iron. If the leak is faint, or the old pipe was patched with plastic, we switch to tracer gas, a hydrogen and nitrogen mix that leaves the pipe through the gap and is found at ground level.
Whichever method finds it, a second method confirms it. The spot is then marked on the ground and photographed, and that mark is where the digging starts. The leak is only certain when the pipe has been dug out and seen. Testing old pipe can also bring out other weak spots along the run, and fixing those is quoted separately.
Repair or replace
One leak on a lead pipe can normally be repaired. The damaged part is cut out and a new length joined in, using fittings made to grip lead at one end. We can usually repair leaks on pipework while we are there, quoted separately from the detection. Our repairs are guaranteed for 3 months, and that cover is for the new section and its fittings, so the old lead either side is not included.
A repair stops that leak. The rest of the lead stays as old as it was. If this is the second or third leak on the same pipe, or the drive above it is about to be relaid anyway, many owners decide to replace the whole run, usually with plastic pipe. That is a bigger job to plan. Our written report shows where the leak was and what we found, which helps whoever prices the replacement.
Talk to your water company before you plan a replacement. If its pipe at the boundary is lead too, it may want to know, and it can explain what it does about lead on its side. Our guide to repairing or replacing a supply pipe goes through that choice in more detail.
Lead and drinking water: who to ask
We find and repair leaks. We do not test drinking water, and this guide is not health advice. If you are worried about lead in the water from your taps, contact your water company. Water quality questions are part of its job, and it can tell you whether it offers a test at your address. For questions about your own health, speak to your GP.
Finding a leak can still help if you are weighing up a replacement. Knowing that the old pipe leaks, and exactly where, gives you and a plumber a firm starting point. It also means any repair starts at the marked spot rather than on a guess, whatever you later decide about the rest of the pipe.
What to do if you think an old pipe is leaking
Gather a few facts before you ring anyone. They help us choose the right test, and they give your water company and insurer something firm to work from. You need nothing more than a torch, a coin for the scratch test and a notebook to write the meter readings in.
If you are thinking of claiming, ring your insurer before you book anything, as some like to give their say-so before work starts. Our written report gives the location, methods, readings and photographs, and its layout suits a trace and access claim. We send the report after you have settled the bill for the visit. Only your insurer can decide whether the claim succeeds. Then work through this list:
Take two meter readings half an hour apart with everything off
Check what the pipe at your stop tap is made of
Note any wet patch, soft ground or greener strip of lawn
Find the water company's letter or your latest bill
Read your home policy for trace and access or supply pipe cover