
Underfloor heating losing pressure: is it the floor at all?
Underfloor heating losing pressure means water is escaping from a sealed system, and there are three usual suspects: the boiler or heat pump and its safety valve, the manifold where the floor pipes start and finish, and the loops of pipe in the floor, usually set in screed, a sand and cement layer that the floor finish is laid on. A sealed system only loses pressure when water or trapped air gets out, so the task is to work out which part is letting it go.
In many newer homes, such as those on the estates around Cambridge, Chelmsford and Bedford, the floor heats the ground floor and radiators heat the rooms upstairs, all from one boiler. Check every radiator valve and visible joint for drips, rust or white crust. Then find the pressure relief pipe outside, usually a short copper pipe coming out of the wall near the boiler, turned down. If it drips or the wall below is stained, the boiler's safety valve is letting water out: a job for a heating engineer.
Watch the gauge through a whole heating cycle too. If the needle climbs close to 3 bar while the system is hot and sags when it cools, the expansion vessel, a small tank in or near the boiler that takes up the extra volume of hot water, may have lost its air charge. Every time the pressure peaks, the relief valve opens and lets a little water out, so the system empties itself slowly without a drop showing indoors.
Checks at the manifold
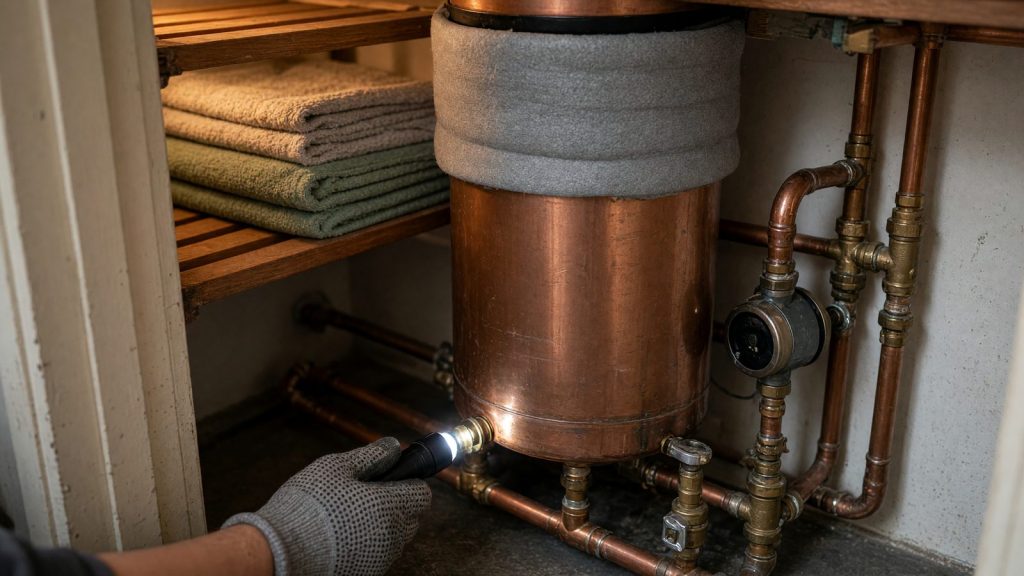
The manifold is the pair of brass or plastic bars, normally in a cupboard or under the stairs, where each loop of floor pipe begins and ends. Each loop has a valve on its way out and another on its way back, and many manifolds carry small clear flow gauges along the top. Boiler-fed systems usually add a pump and a blending valve, which mixes in cooler water to bring it down to floor temperature. That is a lot of joints packed into one small space.
With the heating running, take a torch along both bars and every connection. You are looking for beads of water, white or green crust on the brass, rust marks, a damp or swollen cupboard floor, or a drip from the little air vent at the end of a bar. Dry any suspect joint with kitchen roll and come back to it later. A weep here is the easiest leak to deal with, because it can be reached without touching the floor.
Air or water?
Air can lower the pressure too, but only for a while. After a system has been drained, refilled or topped up, bubbles work their way out through the automatic vents and any radiators you bleed, and the gauge dips each time some escapes. Once the air has gone, the dips should stop. If you are still topping up week after week, the system is losing water.
Underfloor heating losing pressure with no leaks at the relief pipe, the radiators or the manifold usually points to a loop in the floor. A screed floor is thick and porous, and it can soak up a surprising amount of water before tiles, vinyl or wood show any sign. The first clue may be one area that stays warmer than the floor around it, or a dull, damp-looking patch in the grout or vinyl.
Isolating loops to find the leaking one
Each loop is one long run of pipe, often heating a single room or one end of an open-plan space. Close the valves at both ends and that loop is cut off from everything else. A heating engineer can show you how your manifold does this, and it is worth doing with the heating switched off. If the pressure holds with every loop shut, the water is going into the floor. If it keeps falling, the boiler, the radiators or the manifold bars are still in the frame.
On the visit we take it further. Each loop is closed and put under test pressure on a gauge of its own, so a loop that cannot hold its reading gives itself away. All of this happens at the manifold, so no flooring moves, and the search narrows from an entire ground floor to a single run of pipe. If more than one loop fails, we take them in turn.
Finding the point in the screed
With the faulty loop known, it is run warm by itself. Through tiles or stone, a thermal camera shows the pipe as a pattern of warm stripes, and a leak as a smudge of heat spreading where no pipe runs. Engineered wood, thick rugs and some vinyls soften that picture, so the camera narrows the area and other tests take it from there.
To pin the point down, the loop is emptied and refilled with tracer gas, a hydrogen and nitrogen mix. The gas finds the break, rises through the screed and registers on a detector swept slowly across the floor. Only when two methods agree is the point marked and photographed. Where pipes run through ducting, sit inside insulation or lie under a membrane, heat and gas can wander sideways, and if that limits how tightly we can mark the spot, you hear it from us on the day.
Repairs and floor finishes
Repairing a loop means opening a small area over the mark: a few tiles, a strip of boards or a cut in the carpet, then the screed beneath, chipped out by hand around the pipe. The damaged length is cut out and joined with fittings made for that type of pipe, and the loop is pressure tested before anything is covered again. The screed patch then needs time to dry before the floor finish goes back down.
We can usually do the pipe repair too. It carries its own quote, and that quote holds only if the pipe is fixed during the visit that found the leak. Our 3 month repair guarantee is limited to the length of pipe and the joints we fitted; the rest of the heating sits outside it. Relaying the tiles or boards is a separate job, so keep any spares. Once the loop is refilled, balancing the system again can need a heating engineer.
Cost, time and your insurer
No find, no fee on home water leaks does not apply here, because it excludes central heating, and underfloor heating is part of the heating system. Full conditions are on our terms page. You know the price before you book. It buys a fixed amount of our time, half a day for some jobs and a full day for others, and stays put even if we find the leak in the first hour.
Before booking, dig out your home policy. Look for a trace and access section, and ask the insurer whether your visit needs their approval in advance. Damage to the floor from the escaping water may come under a different part of the same policy. The report we send gives the location, methods, readings and photographs, ready for a claim, and it reaches you when the bill is paid. What the insurer pays out is entirely its own decision.